Help topics
Arrows, labels and tildes
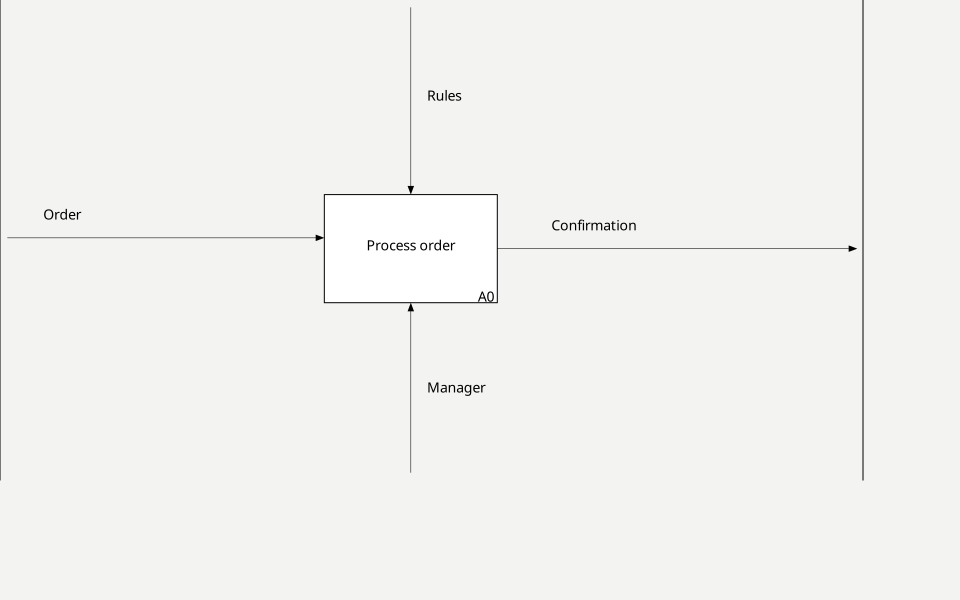
Open an IDEF0 diagram containing blocks. Arrows show the data and objects an activity uses or produces.
Block sides and arrows
Inputs enter from the left, controls from above, outputs leave on the right, and mechanisms connect below. For example: “Order” is an input, “Rules” a control, “Confirmation” an output and “Manager” a mechanism.
- Select the arrow tool. Start at the diagram boundary or a block, lay out the route and finish at the required block side or boundary.
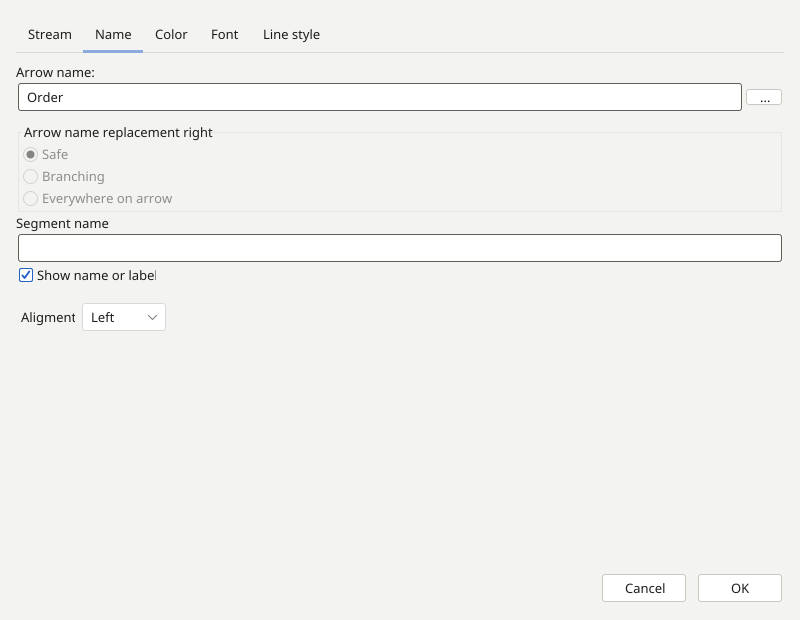
- Open the arrow properties and enter its name. Check its direction and attachment point.
Label and tilde
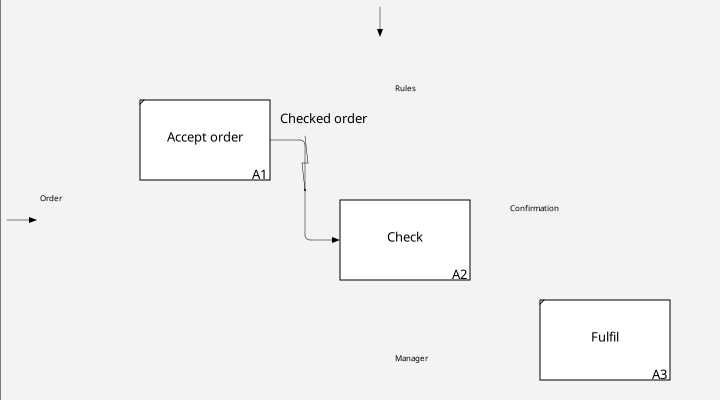
Move the label so it does not overlap blocks or other names. Use the label or arrow context menu to access its properties.
- If a label is moved away from its arrow, select the tilde tool and connect the label to that arrow. The tilde shows which arrow the name belongs to.
Branches and joins
To send a flow to several destinations, start a branch on an existing arrow and finish at the target block. To merge flows, bring a branch to another arrow and use the available join action in its context menu. Check the names of both the shared segment and its branches.
A tilde connects a name to an arrow. Tunnelling controls an arrow’s relationship across model levels; it is a separate operation covered in the next chapter.
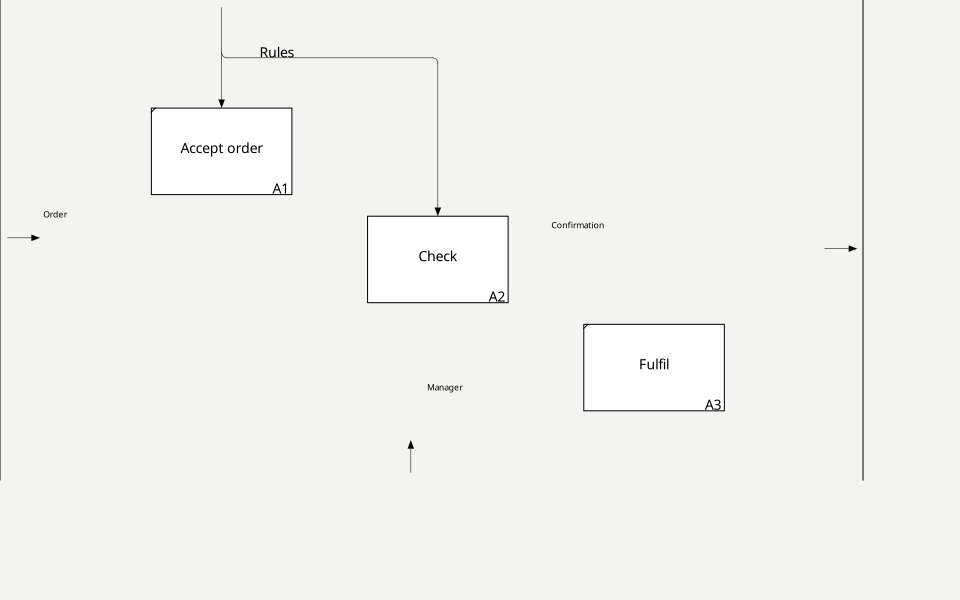
Blocks are connected with named arrows, and displaced labels are clearly linked to their arrows.